Table of Contents
Jangjorim (장조림) is a time-honored Korean side dish that brings a savory depth to your meals. This soy-braised beef dish, often accompanied by eggs and peppers, offers a perfect balance of salty, slightly sweet flavors that pair beautifully with a bowl of steamed rice. By mastering this recipe in just five simple steps, you can recreate a dish that’s not only delicious but steeped in culinary tradition.
Step-by-Step Guide to Perfect Jangjorim
Step 1 – Gather Your Ingredients
To create authentic jangjorim, you’ll need the following:
- 1.5 pounds of beef brisket or flank steak, cut into 2 to 3-inch chunks
- 4 cups of water
- 5 tablespoons of soy sauce
- 2 tablespoons of soup soy sauce (guk ganjang) or an additional 2 tablespoons of regular soy sauce
- 3 tablespoons of sugar
- 3 tablespoons of rice wine or mirin
- 6 garlic cloves, peeled
- 3 thin slices of ginger
- 10 to 12 shishito peppers or any mild green peppers
- 3 boiled eggs, peeled
Optional ingredients for added flavor include one medium onion, a handful of scallions, and a small chunk of radish.
Step 2 – Prepare the Beef
Start by preparing the beef. Immerse the beef chunks in a bowl of cold water for half an hour to draw out impurities. This step helps to remove excess blood, ensuring a cleaner and more delicate flavor in the final dish. Once soaked, drain the beef and place it in a pot.

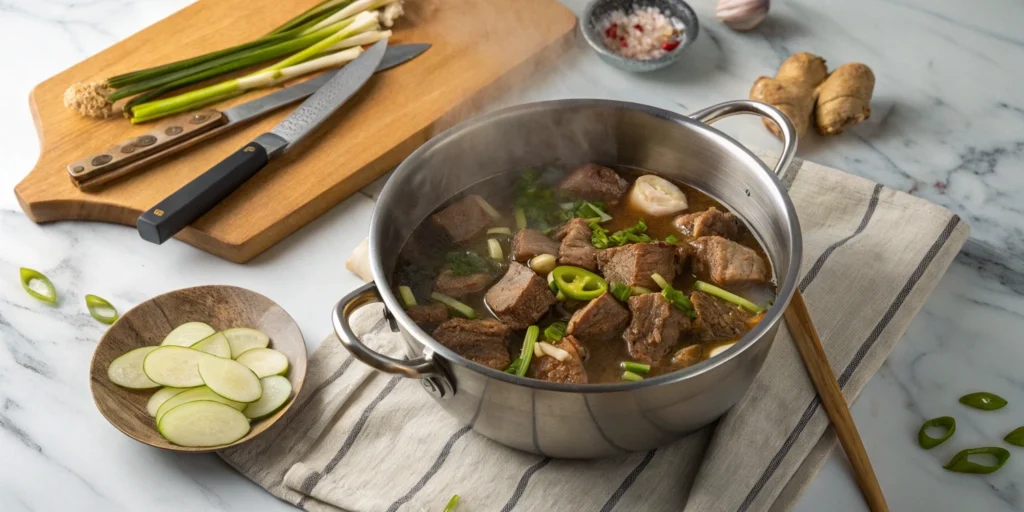
Add 4 cups of water to the pot, along with your optional aromatics like onion, scallions, and radish, if you’re using them. Include the garlic, ginger slices, and black pepper. Heat the pot until it begins to boil, carefully removing any foam that forms on the top. Lower the heat and simmer for 30 minutes to tenderize the beef and infuse the broth with a rich, savory aroma.
Step 3 – Build the Flavorful Base
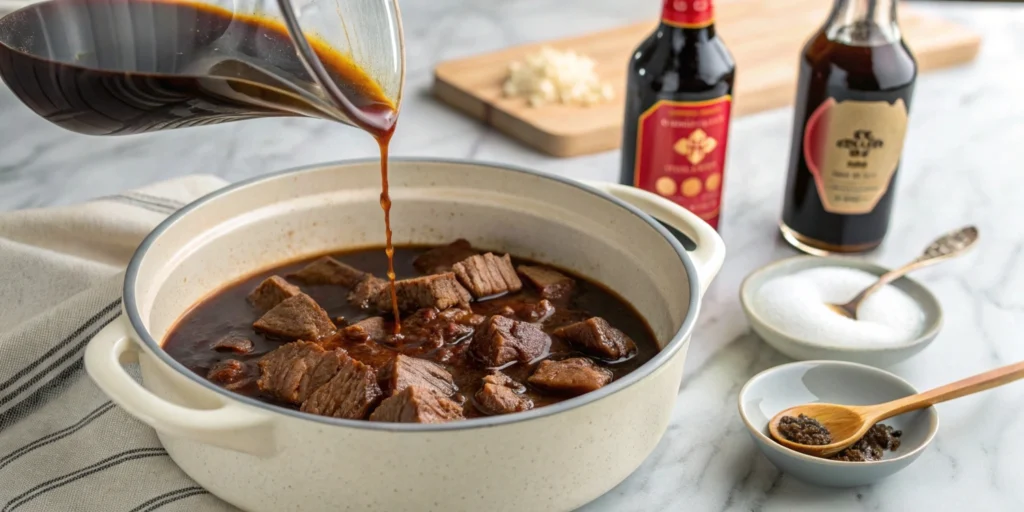
After the initial simmer, remove the aromatics from the pot, leaving just the beef and broth. This step ensures the dish retains a clean and focused flavor. Add 5 tablespoons of soy sauce, 2 tablespoons of soup soy sauce, 3 tablespoons of sugar, and 3 tablespoons of rice wine. Stir gently to combine the ingredients evenly.

Simmer the mixture for another 20 minutes, allowing the beef to absorb the seasonings. The soy sauce and sugar will create a harmonious balance of savory and slightly sweet notes, while the rice wine enhances the dish’s overall complexity.
Step 4 – Enhance with Eggs and Peppers
Now it’s time to add the boiled eggs and shishito peppers. Place the peeled eggs and peppers directly into the pot with the simmering beef and broth. Continue cooking for an additional 10 minutes. During this time, the eggs will take on a lovely golden-brown hue, and the peppers will soften, infusing the dish with a subtle, earthy heat.
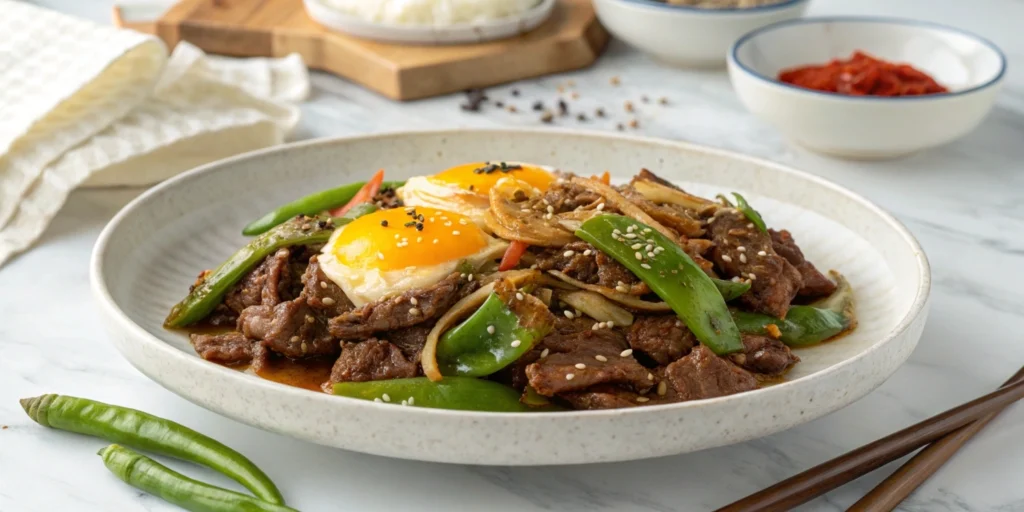
The combination of tender beef, flavorful eggs, and vibrant peppers creates a visually stunning and aromatic dish that’s sure to impress at the table.
Step 5 – Serve and Enjoy
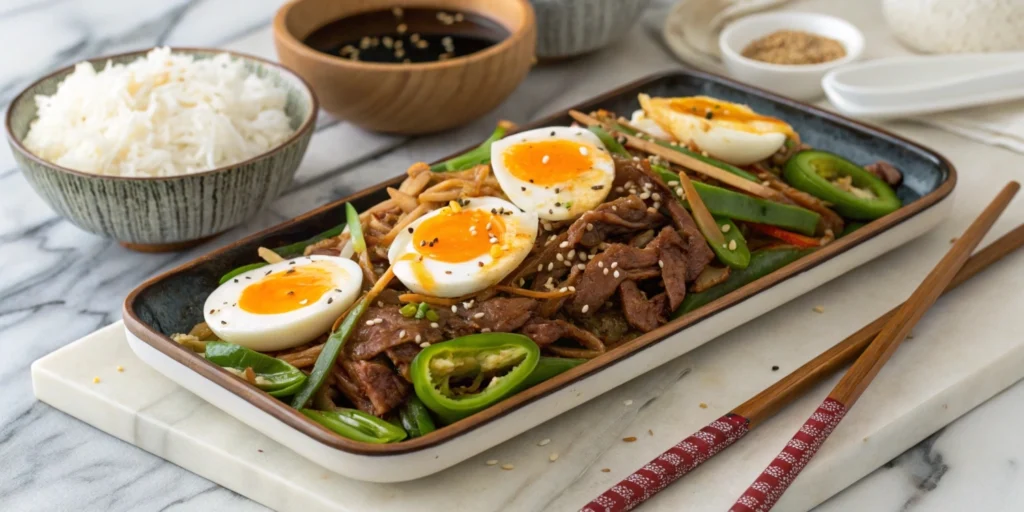
Once cooked, let the jangjorim cool slightly before serving. For an authentic presentation, shred the beef into bite-sized pieces, and arrange them on a platter alongside the eggs and peppers. Drizzle a bit of the braising liquid over the top to enhance the flavor and add a glossy finish.

Pair your jangjorim with steamed white rice and other banchan (Korean side dishes) like kimchi for a complete and satisfying meal.
Health Benefits of the Dish
Jangjorim isn’t just delicious; it also offers nutritional benefits:
- Protein-rich: The beef and eggs provide a high-quality source of protein, essential for muscle repair and overall health.
- Low in carbohydrates: This makes jangjorim suitable for low-carb or keto-friendly diets.
- Rich in vitamins: Shishito peppers add a dose of vitamin C and antioxidants, supporting immune health.
However, due to the high sodium content from soy sauce, it’s best enjoyed in moderation, particularly if you’re monitoring your salt intake.
Tips for Perfecting Your Jangjorim
- Choose the right cut of beef: Brisket and flank steak are ideal for their tenderness and ability to absorb flavors.
- Don’t skip the soaking step: Removing excess blood from the beef ensures a clean-tasting dish.
- Let it rest: For a deeper flavor, prepare jangjorim a day in advance and allow it to sit overnight in the refrigerator. Reheat gently before serving.
- Experiment with variations: Swap shishito peppers for bell peppers or add quail eggs for a twist on tradition.
FAQs About Jangjorim
What cut of beef is best for Jangjorim?
Brisket and flank steak are preferred due to their tenderness and flavor-absorbing qualities.
Can I make Jangjorim without eggs?
Yes, while eggs are traditional, you can omit them or replace them with tofu or mushrooms for a vegetarian-friendly option.
How long does Jangjorim last in the fridge?
Stored in an airtight container, jangjorim can last up to a week. Reheat it gently to enjoy its flavors fully.
Can I freeze Jangjorim?
Absolutely. Divide it into portion-sized containers and freeze for up to three months. Thaw overnight in the refrigerator before reheating.
Conclusion: Bring the Taste of Korea Home
Jangjorim is more than a side dish; it’s a celebration of Korean culinary artistry. By following these five straightforward steps, you can create a dish that’s rich in flavor and tradition. Whether served as part of a family meal or shared at a gathering, jangjorim is sure to become a favorite in your kitchen.
Ready to explore more of Korea’s vibrant cuisine? Bookmark this recipe, try it out, and share your experience. Your journey into Korean cooking begins here!
