Table of Contents
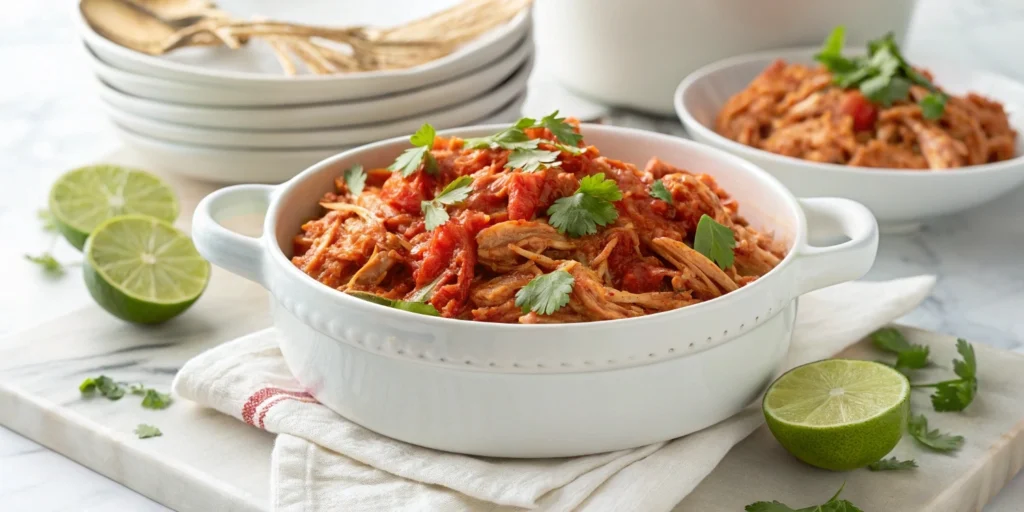
After a long day, nothing beats the satisfaction of sitting down to a hearty, flavorful meal that didn’t take hours to prepare. That’s exactly what Instant Pot Salsa Chicken delivers. This dish is your ticket to juicy, tender chicken bursting with zesty salsa flavors—all with minimal effort. Whether you’re juggling work, family, or just craving something wholesome, this recipe fits seamlessly into your busy life.
Why You’ll Love This Instant Pot Salsa Chicken
- Quick & Effortless: From prep to plate in under 30 minutes.
- Simple Ingredients: Pantry staples, nothing fancy required.
- Versatile Dish: Ideal for tacos, salads, rice bowls, or wraps.
- Nutritious: Packed with lean protein and fresh, vibrant flavors.
Ingredients You’ll Need
To whip up this flavorful dish, gather the following ingredients:
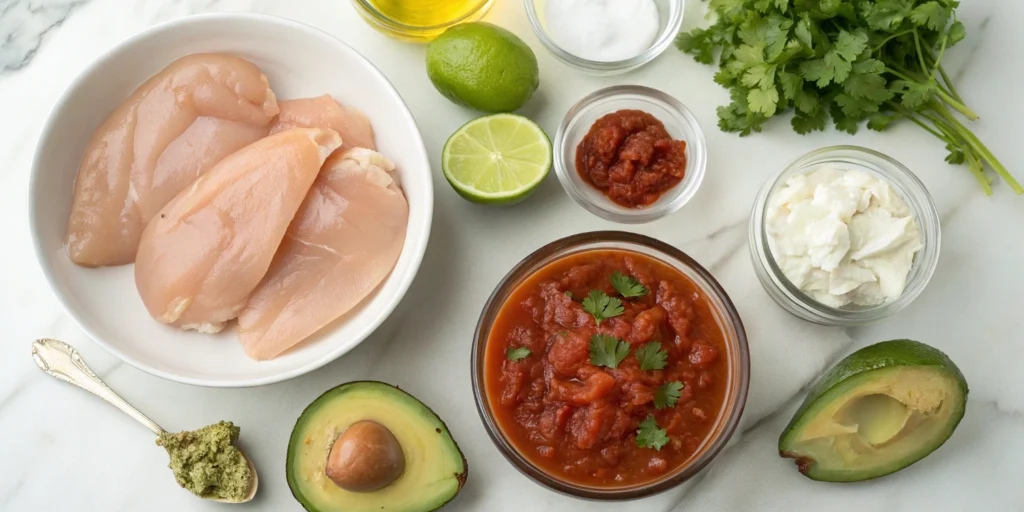
- 4 boneless, skinless chicken pieces (breasts or thighs for added tenderness)
- 2 cups of your favorite salsa (chunky or smooth, mild or spicy)
- 1 packet of taco seasoning (or 2 tablespoons of homemade seasoning)
- 1/2 cup of chicken broth to keep the chicken moist and prevent burning
- Optional toppings: diced avocado, chopped fresh cilantro, sour cream, lime wedges
5 Sublime Steps for Instant Pot Salsa Chicken
Step 1: Prep the Chicken
Start by patting the chicken dry with paper towels. This simple step helps the seasoning stick better and ensures a nice texture after cooking. Season the chicken with a light sprinkle of salt, pepper, and half of the taco seasoning to infuse flavor right from the start.
Step 2: Sauté for Extra Flavor (Optional but Recommended)
Turn on the sauté function on your Instant Pot. Add a drizzle of olive oil and sear the chicken pieces for 2-3 minutes on each side until they develop a light golden-brown crust. This step locks in the juices and adds a depth of flavor that makes the dish even more irresistible.
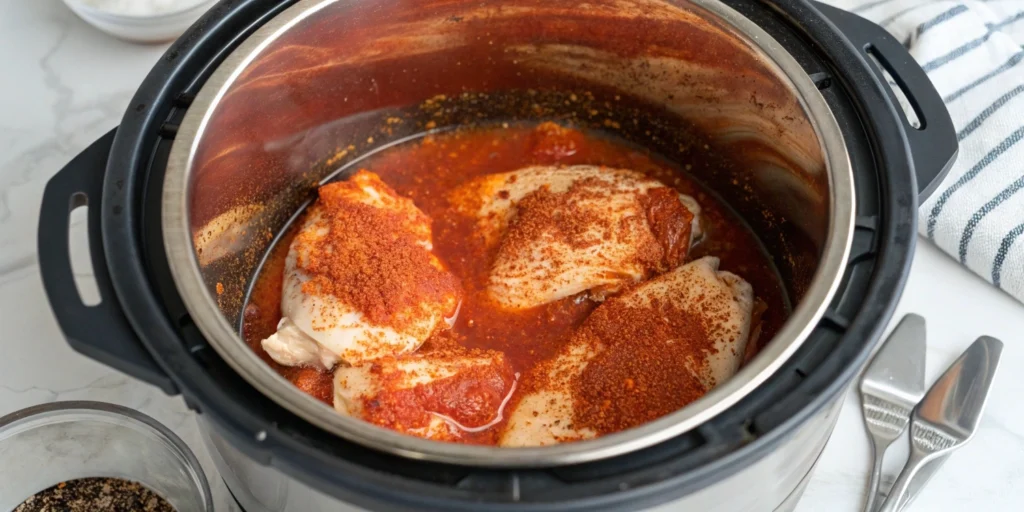
Pro Tip: Avoiding the “Burn” Signal The most common mistake with Instant Pot chicken is layering the salsa on the bottom. Thick sauces (like chunky salsa) can settle and scorch, triggering the “Burn” warning. Always pour your 1/2 cup of chicken broth (or water) in first, then add the chicken, and then pour the salsa on top. Do not stir! Let the salsa sit on top of the meat like a blanket; the steam from the broth will cook everything perfectly without sticking.
Step 3: Layer the Salsa and Broth
Pour the chicken broth into the Instant Pot to prevent the chicken from sticking and to create a flavorful base. Place the chicken directly on top of the broth. Pour the salsa evenly over the chicken, ensuring every piece is well coated. Sprinkle the remaining taco seasoning over the salsa for an extra flavor boost.
Step 4: Pressure Cook to Perfection
Secure the lid on your Instant Pot, making sure the valve is set to the sealing position. Select the ‘Pressure Cook’ or ‘Manual’ setting, set it to high pressure, and cook for 10 minutes. Once the cooking cycle is complete, allow the pressure to release naturally for 5 minutes before carefully performing a quick release to let out any remaining steam.
Step 5: Shred and Serve
Carefully remove the chicken from the pot and use two forks to pull it apart easily. The chicken will be juicy and flavorful, blending perfectly with the salsa. Return the shredded chicken to the pot, mixing it well with the flavorful salsa juices. Serve hot, garnished with your favorite toppings like creamy avocado, fresh cilantro, a dollop of sour cream, and a squeeze of lime.
Health & Nutritional Benefits
This dish isn’t just about convenience and flavor—it’s also packed with nutritional benefits:
- High in Protein: Essential for muscle repair and satiety, keeping you full longer.
- Low in Carbohydrates: A great option for low-carb or keto-friendly diets.
- Rich in Vitamins: Salsa made with tomatoes, onions, and peppers adds vitamins A, C, and antioxidants.
- Gluten-Free: Naturally gluten-free, perfect for those with dietary restrictions (just double-check your taco seasoning).
Pro Tips for Perfect Salsa Chicken
- Juicier Meat: Use chicken thighs instead of breasts for an even more tender result.
- Flavor Boost: Opt for homemade salsa to control the spice level and freshness.
- Adjust the Heat: Customize the spiciness by choosing mild, medium, or hot salsa.
- Meal Prep Friendly: This dish stores well, making it perfect for meal prep. The flavors deepen over time, making leftovers even more delicious.
Customize Your Salsa Chicken
| Style | Salsa Type | Secret Add-In | Best Served As… |
| Zesty Lime | Salsa Verde (Tomatillo) | 1 tsp Cumin + Lime Zest | Enchilada Filling |
| Smoky BBQ | Roasted Tomato Salsa | 1 tsp Smoked Paprika | Loaded Sweet Potatoes |
| Tropical | Pineapple or Mango Salsa | 1/4 tsp Allspice | Caribbean-style Rice Bowls |
| Firehouse | Habanero Salsa | Pickled Jalapeño Juice | Spicy Street Tacos |
Serving Suggestions
Get creative with how you serve your Instant Pot Salsa Chicken:
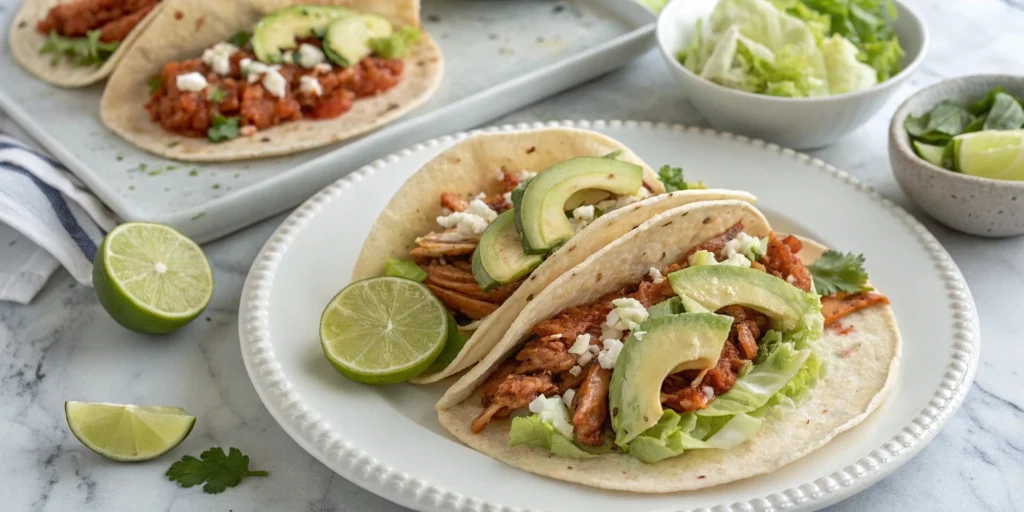
- Taco Night: Pile it into warm tortillas with shredded lettuce, cheese, and a squeeze of lime.
- Burrito Bowls: Layer it over rice with black beans, corn, and avocado.
- Salad Topper: Add a protein punch to your salads with this flavorful chicken.
- Stuffed Sweet Potatoes: A sweet-savory combo that’s simply irresistible.
Frequently Asked Questions (FAQ)
Q1: How do I shred the chicken quickly?
Answer: While two forks work, the “Sublime Secret” is using a hand mixer. Transfer the cooked chicken to a large bowl and use the mixer on low speed for about 30 seconds. It will perfectly shred the chicken into restaurant-quality consistency in a fraction of the time!
Q2: Why is my sauce too watery after cooking?
Answer: Chicken releases a lot of natural juices during pressure cooking. If the sauce is too thin, remove the chicken to shred it, then turn on the Sauté function on your Instant Pot for 5 minutes. Let the liquid bubble and reduce by half before adding the shredded meat back in.
Q3: Can I cook this in a Slow Cooker instead?
Answer: Absolutely! If you have the time, cook on Low for 6-8 hours or High for 3-4 hours. You won’t need the 1/2 cup of broth for the slow cooker version, as the chicken and salsa will provide enough moisture on their own.
Conclusion
In just five sublime steps, you can create an Instant Pot Salsa Chicken that’s bursting with bold, zesty flavors. Perfect for busy weeknights or meal prep, this recipe delivers juicy, tender chicken with minimal effort. So grab your Instant Pot, gather your ingredients, and enjoy a dish that’s sure to become a staple in your kitchen.
Ready to give it a try? Share your favorite serving ideas or salsa variations in the comments below!