Table of Contents
Baking bread at home is often seen as a complex task, but with a Dutch oven and this straightforward recipe, you’ll find it surprisingly achievable. Whether you’re a beginner or an experienced cook, this guide will walk you through the process of crafting a delicious, golden-crusted loaf. Best of all, it takes minimal effort—just a few ingredients, a little time, and your trusty Dutch oven.
Why Choose Dutch Oven Bread?
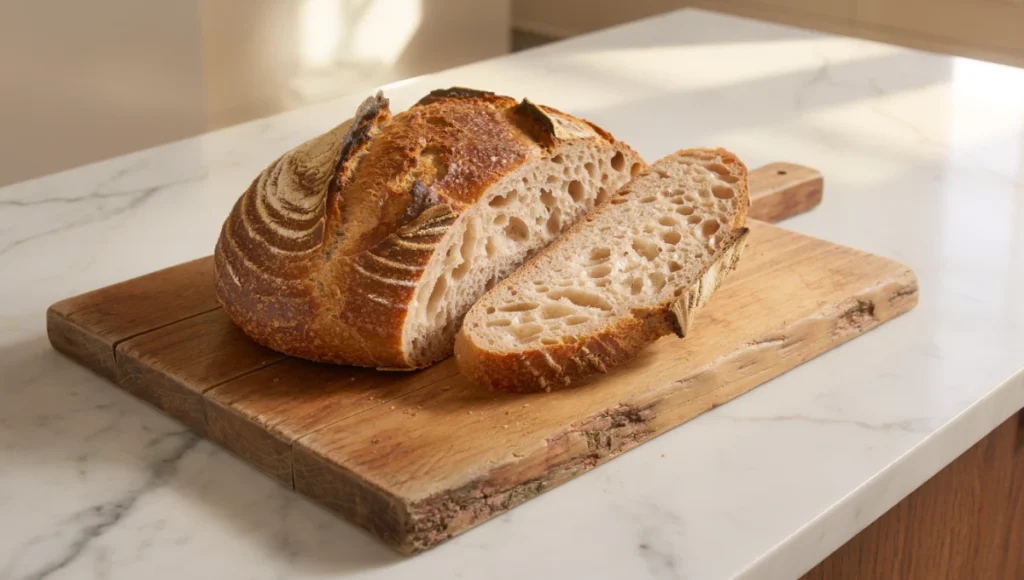
Dutch oven bread isn’t just another homemade loaf. It’s an experience in texture, flavor, and simplicity. With its crusty exterior and soft, airy interior, this bread rivals anything you’d find at an artisan bakery. Here’s why it’s a game-changer for home bakers:
- Steam for a Perfect Crust: The Dutch oven traps steam during baking, creating a crispy, bakery-style crust.
- Consistent Heat: Its heavy-duty construction ensures even baking, so your loaf cooks perfectly every time.
- No-Knead Simplicity: This recipe eliminates the need for kneading, making it accessible to all skill levels.
Ingredients You’ll Need
Here’s the full list of ingredients required for this no-fail Dutch oven bread:
- 3 cups of all-purpose flour: The foundation for the bread’s structure.
- 1 1/4 teaspoons of salt: Enhances the overall flavor.
- 1/2 teaspoon of instant yeast: Powers the rise without requiring proofing.
- 1 1/2 cups of warm water: Activates the yeast and brings the dough together.
Optional add-ins for flavor enhancements:
- 1 tablespoon of fresh rosemary for a herby aroma.
- 2 cloves of minced garlic for a savory twist.
- 2 tablespoons of seeds (such as sesame or sunflower) for added crunch and nutrients.
Step-by-Step Instructions for Perfect Dutch Oven Bread
Step 1: Mixing the Dough

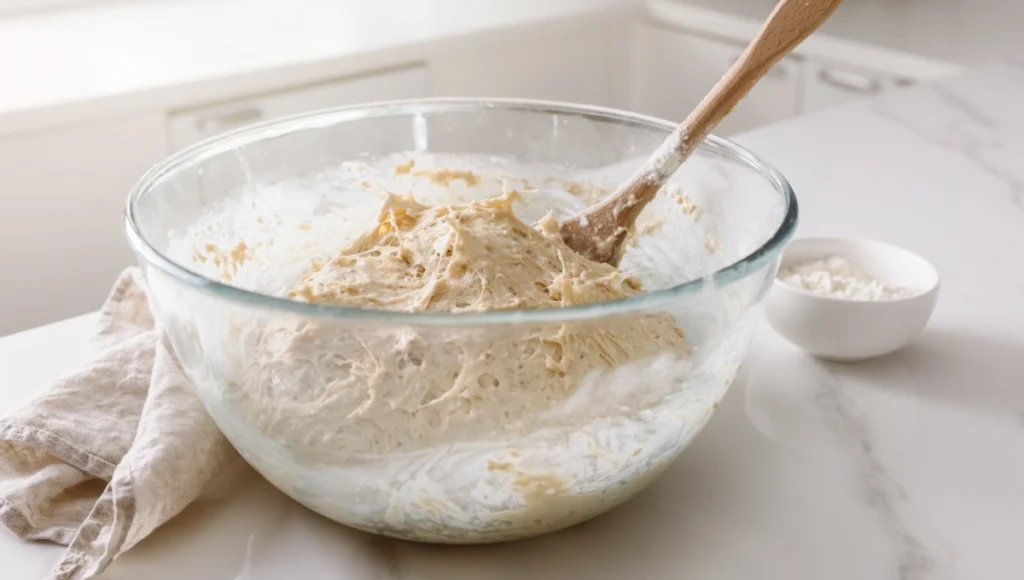
Mix the flour, salt, and yeast together in a large bowl. Gradually pour in the warm water, stirring with a wooden spoon or spatula until the ingredients form a shaggy, sticky dough. Don’t worry about achieving a smooth texture; the magic happens during the resting phase.
Step 2: Rest and Rise
Cover the bowl with either plastic wrap or a clean towel. Leave it to rest at room temperature for 12 to 18 hours. This extended rising time allows the yeast to work slowly, developing a deep, rich flavor and a light, airy structure.
Step 3: Shape and Preheat

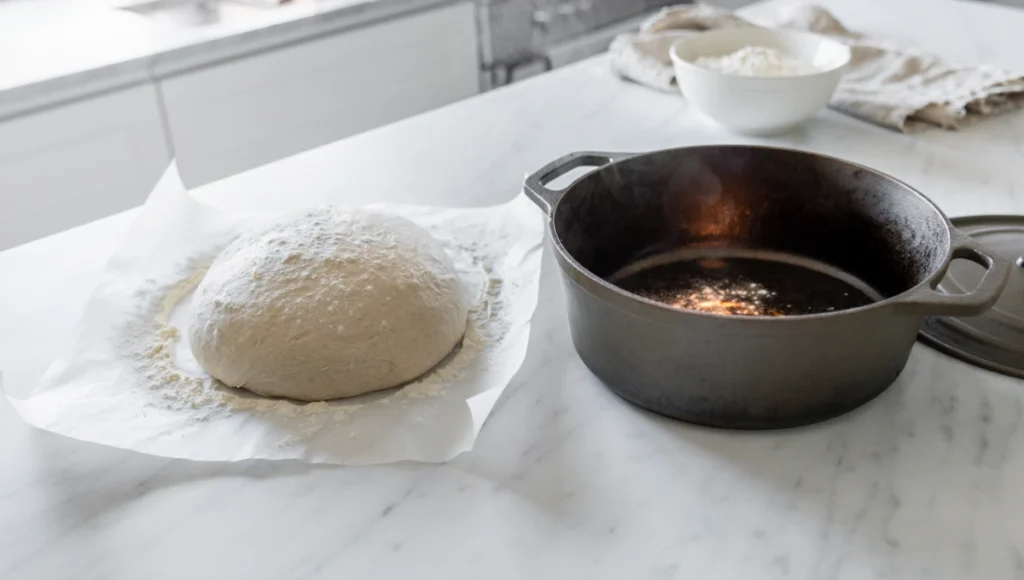
Once the dough has doubled in size and has a bubbly surface, turn it out onto a lightly floured countertop. Shape the dough into a round loaf with your hands. Let it rest for about 30 minutes. Meanwhile, preheat your oven to 450°F (232°C), placing your Dutch oven (with the lid on) inside to heat up.
Step 4: Bake the Bread
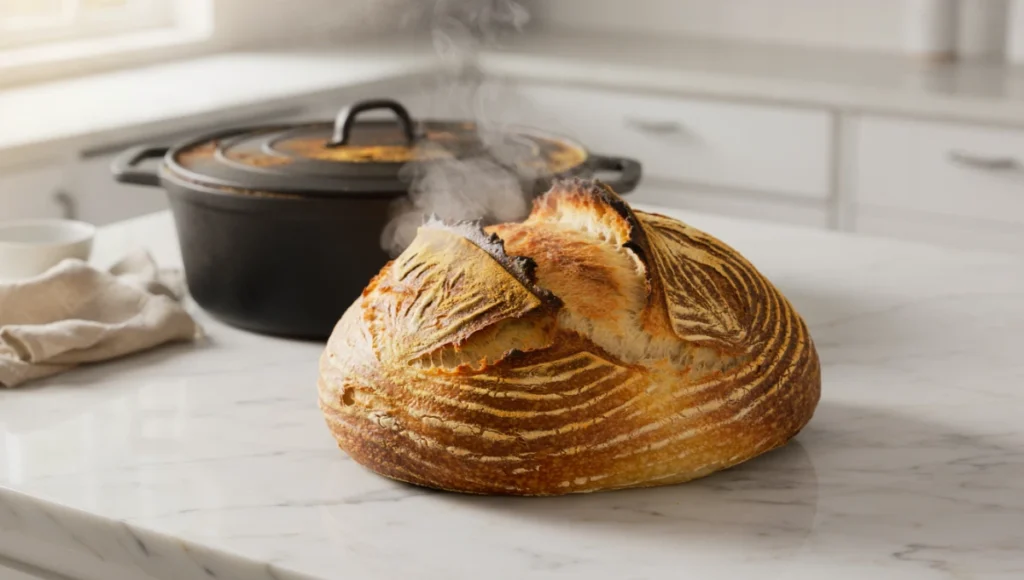
Gently place the dough into the preheated Dutch oven. You can sprinkle a little flour or cornmeal on the bottom of the pot to prevent sticking. Cover with the lid and bake for 30 minutes. Then, remove the lid and bake for an additional 15 minutes to achieve a beautifully golden crust.
Why Homemade Dutch Oven Bread is Healthier
Whole Ingredients
Store-bought bread often contains preservatives and additives. By making your own, you control every ingredient, ensuring a cleaner and healthier loaf.
Low Sodium
This recipe uses just 1 1/4 teaspoons of salt for the entire loaf, far less than many commercial breads.
Nutritional Customization
Substitute some of the all-purpose flour with whole wheat flour for added fiber and nutrients. You can also incorporate seeds or nuts for a boost of healthy fats and protein.
Expert Tips for Success
- Use the Right Yeast: Instant yeast is key for this no-knead recipe. If using active dry yeast, dissolve it in warm water before mixing it with the dry ingredients.
- Hydration Matters: The dough will be sticky—that’s normal. Avoid adding too much flour, as this can lead to dense bread.
- Preheat Thoroughly: A hot Dutch oven is essential for achieving the perfect crust. Make sure it’s fully preheated before adding the dough.
- Experiment with Flavors: Try adding spices, herbs, or grated cheese to the dough for unique variations.
Common Questions About Dutch Oven Bread
How Long Does Homemade Bread Last?
Your loaf will stay fresh for 2-3 days when stored in a bread box or wrapped in a clean kitchen towel. For longer storage, freeze it in slices for up to 3 months.
Can I Use a Different Pot Instead of a Dutch Oven?
Yes, as long as it’s oven-safe and has a lid to trap steam. A heavy-duty cast iron pot works best.
Do I Need to Knead the Dough at Any Point?
No kneading is required for this recipe. The extended resting time allows gluten to develop naturally.
Can I Make Gluten-Free Dutch Oven Bread?
Yes! Replace the all-purpose flour with a premium gluten-free flour blend. Note that the texture may vary slightly.
Conclusion: Your Bakery at Home
Dutch oven bread is proof that incredible results can come from simple methods. Whether you’re sharing it at a dinner party or savoring a slice with butter, this recipe delivers every time. Now that you know the steps, it’s time to preheat your Dutch oven and start baking!

If you’ve enjoyed this recipe, why not explore other easy baking ideas? Subscribe to our newsletter for more no-fail recipes, and don’t forget to share your Dutch oven bread photos with us on social media!
