Table of Contents
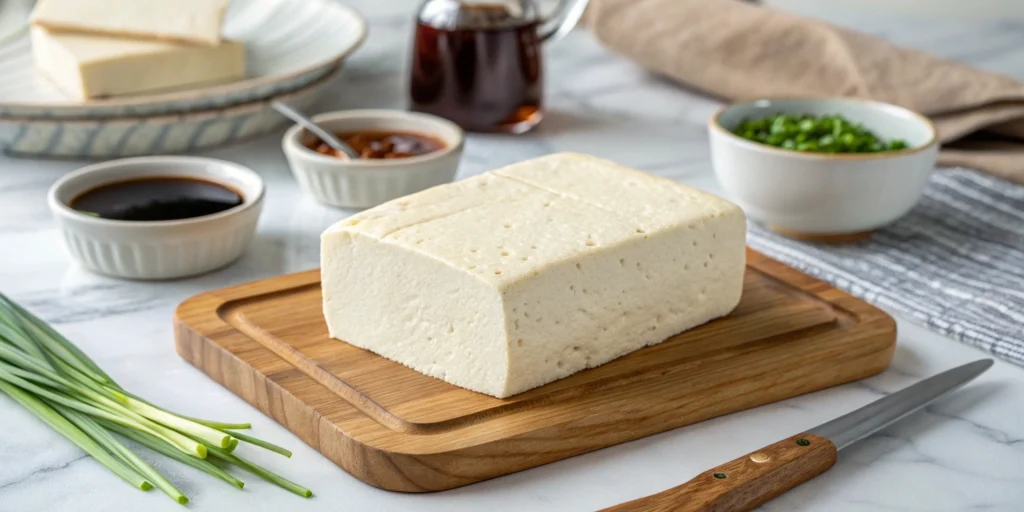
Fresh, homemade tofu (토푸) isn’t just about taste—it’s about the experience of making something wholesome and pure right in your own kitchen. If you’ve ever thought making tofu was complicated, you’re about to be pleasantly surprised. With just three simple steps, you can create your own batch of soft, creamy, or firm tofu, customized to your preference. Store-bought options can’t compare to the fresh texture and subtle, nutty flavor of a homemade block. Plus, you control the ingredients, ensuring an all-natural, preservative-free product.
Let’s break down this insanely easy process so you can enjoy fresh tofu any time you like.
Step 1: Preparing the Soybeans
Choosing the Right Soybeans
The quality of your soybeans directly affects the taste and texture of your tofu. Look for organic, non-GMO soybeans with a bright yellow hue and uniform size. These yield a smoother, creamier soy milk, which translates into a better final product.
Soaking the Soybeans

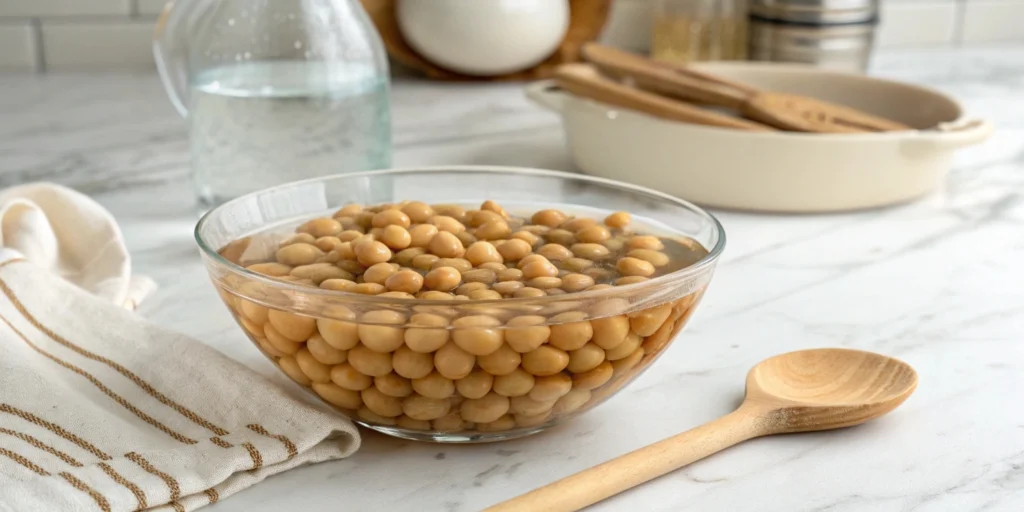
Start with ½ cup of dried soybeans and rinse them thoroughly under cool water to remove any impurities. Place the beans in a large bowl and cover them with 3 cups of water. Allow them to soak for 8-12 hours or overnight. As they rehydrate, they will expand, nearly doubling in size. This process softens the beans, making them easier to blend and extract soy milk.
Step 2: Making Soy Milk and Coagulating It
Blending the Soybeans
Drain and rinse the soaked soybeans before transferring them to a blender. Add 2 cups of fresh water and blend until smooth, creating a thick soybean slurry.
Cooking the Soy Milk
Pour the blended mixture into a large pot and add another 2 cups of water. Bring to a gentle boil over medium heat, stirring continuously to prevent scorching. Lower the heat and let it gently cook for approximately 10 minutes.
Straining the Mixture
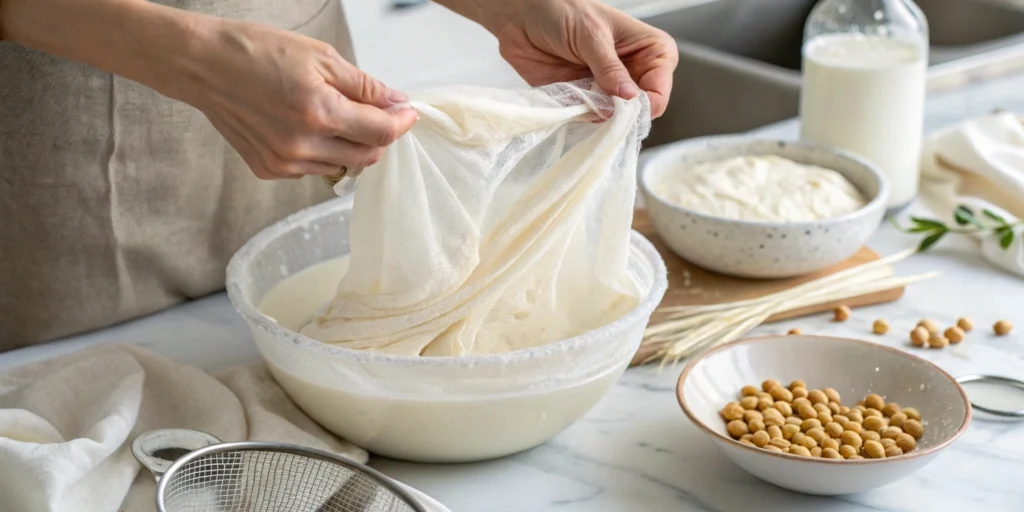
Line a fine-mesh strainer with a cheesecloth or muslin and place it over a large bowl. Slowly pour the hot soybean mixture through the cloth, allowing the liquid to drain into the bowl. Gather the edges of the cheesecloth and squeeze out as much liquid as possible.

This extracted liquid is your fresh soy milk. The leftover soybean pulp, called okara, can be saved for baking or added to other dishes.
Adding a Coagulant
Return the strained soy milk to the pot and heat it to 180°F (82°C). Dissolve 1 teaspoon of coagulant in ¼ cup of warm water. Your options include:
- Nigari (magnesium chloride) – Creates a firmer texture.
- Gypsum (calcium sulfate) – Enhances calcium content.
- Lemon juice or vinegar – A natural alternative for softer tofu.
Slowly stir the coagulant into the hot soy milk. Turn off the heat and let the mixture rest for 15 minutes. You’ll notice the liquid gradually splitting into curds and a watery substance.
Step 3: Pressing the Tofu
Draining and Molding
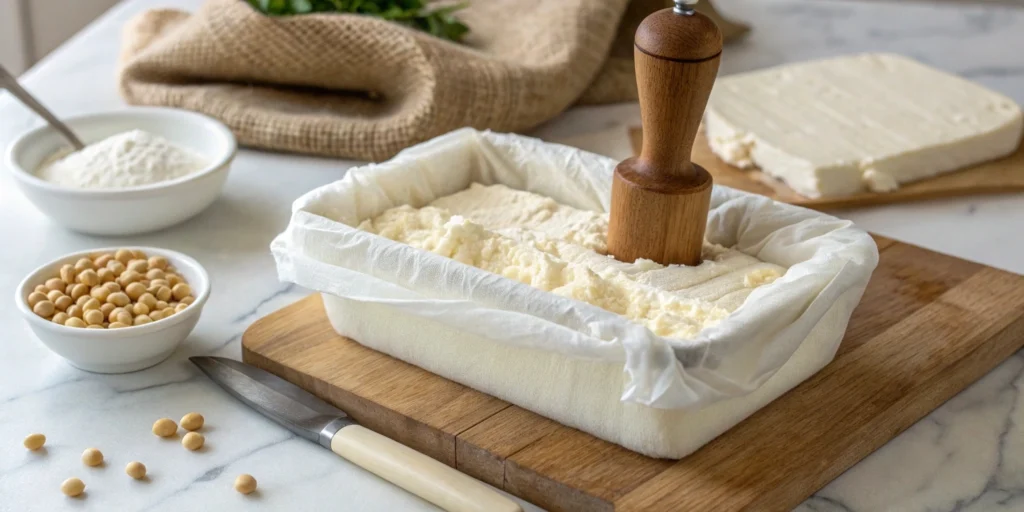
Using a slotted spoon, transfer the curds into a tofu mold lined with a cheesecloth. If you don’t have a mold, a strainer or rectangular container with holes works just as well.
Pressing for Desired Firmness
Fold the cheesecloth over the top and place a weight on it. The amount of time you press determines the firmness:

- 15 minutes = Soft tofu
- 30 minutes = Medium tofu
- 1 hour or more = Firm tofu
Cooling and Storing
Once pressed, remove the tofu from the mold and submerge it in cold water for 10 minutes to set its shape. Store in a container filled with water and refrigerate. Change the water daily, and your homemade tofu will stay fresh for 3-5 days.
Health Benefits of Homemade Tofu
Homemade tofu isn’t just delicious—it’s packed with nutritional benefits:
- High in Protein – Perfect for plant-based diets, with about 10 grams of protein per 100 grams.
- Low in Calories – Only 80 calories per serving, making it a great choice for weight management.
- Rich in Minerals – Loaded with iron, calcium, and magnesium.
- No Preservatives – Unlike store-bought versions, this tofu is free from additives.
Pro Tips for Perfect Homemade Tofu
✅ Use fresh, filtered water for the best taste.
✅ Experiment with different coagulants to customize texture.
✅ Save the okara – It’s packed with fiber and great for pancakes or baked goods.
FAQs: Everything You Need to Know About Homemade Tofu
How long does homemade tofu last?
It stays fresh for 3-5 days if stored in water in the fridge. Change the water daily to keep it fresh.
Can I freeze homemade tofu?
Yes! Freezing changes the texture, making it chewier and more porous—great for absorbing marinades.
Why is my tofu too soft?
Increase pressing time for firmer tofu or use less water in the soy milk preparation.
What can I do with leftover okara?
Okara can be added to smoothies, soups, or used as a meat substitute in veggie patties.
Conclusion: Your Insanely Easy Homemade Tofu Awaits!
With just three simple steps, you can enjoy fresh, homemade tofu that’s healthier and tastier than store-bought versions. Whether you love it grilled, stir-fried, or added to soups, this easy recipe brings a world of culinary possibilities right to your kitchen. Now that you know how simple it is, there’s no reason not to try making a batch today.
Got questions or a favorite way to prepare tofu? Share your thoughts in the comments below!
